DOFMaster
for Windows
On-line
Depth of Field
Calculator
DOFMaster for Mobile Devices
On-line
Depth of Field
Table
Hyperfocal
Distance Chart
Articles
FAQ
Recommended
Books
Support
Contact
Links
Home
for Windows
On-line
Depth of Field
Calculator
DOFMaster for Mobile Devices
On-line
Depth of Field
Table
Hyperfocal
Distance Chart
Articles
FAQ
Recommended
Books
Support
Contact
Links
Home
As an Amazon Associate I earn from qualifying purchases.
![]()
roll), both in white light and in total darkness, and select
the method that is most comfortable for you. Then
perfect that method. Although the three methods are
similar, there are differences that may make one method
easier for you. However, before beginning one of these
methods, make sure that both the reel and your hands
are clean and dry.
off to make a square end before loading the reel.)
(fig. 10-16, view A). For left-handed people, the ends of
the wire spiral reel when positioned at the top must point
to the left.
(center) of the reel (fig. 10-16, view B). The film
emulsion must face in or toward the reel center. The
tension on the film should be firm enough to prevent the
film from skipping the spiral grooves, but not so firm it
overlaps or falls into the same groove twice.
produces a slight curl in the film and allows it to pass
onto the edges of the reel. As you continue to turn the
reel, the film straightens out and fits into the grooved
spaces in the reel (fig. 10-16, view C). Apply enough
tension to the film so it does not skip grooves. However,
too much tension may cause the film to overlap in the
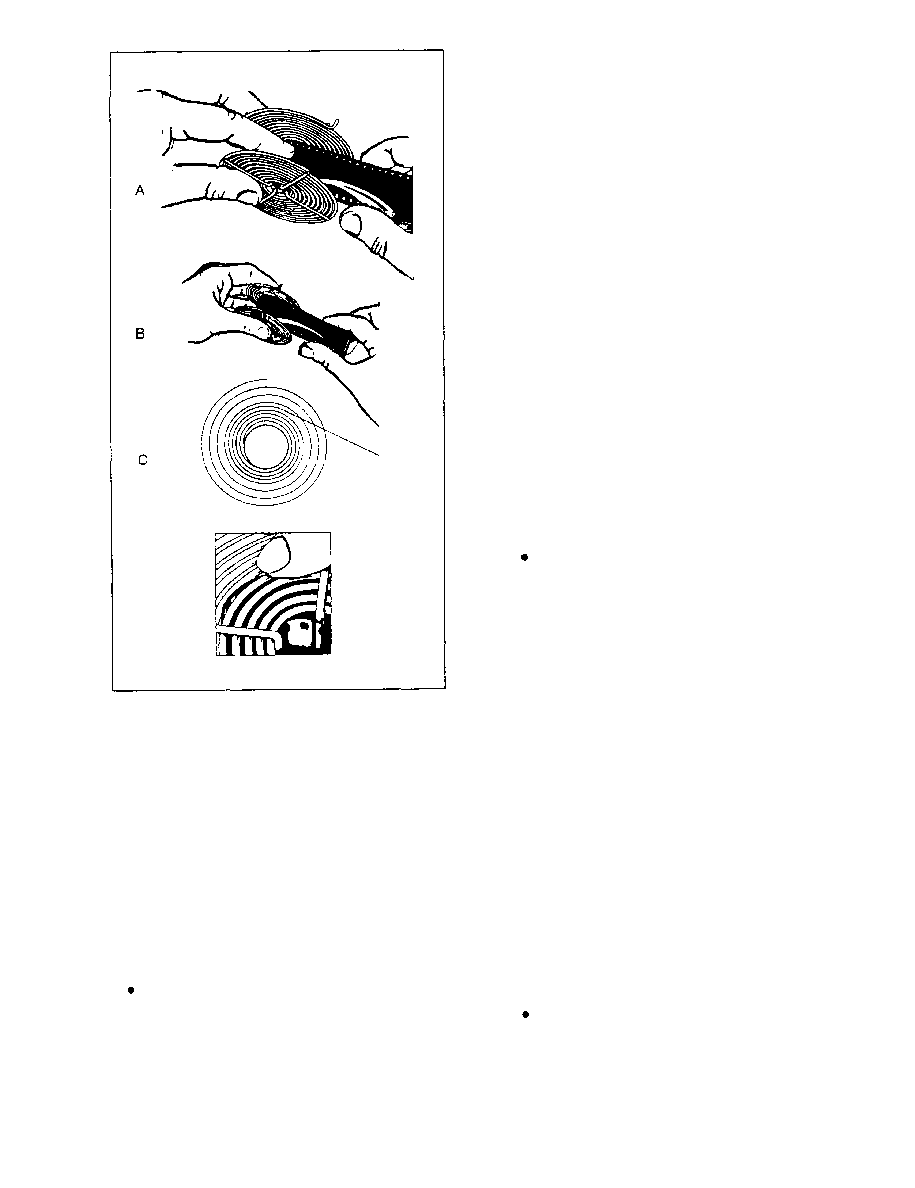
left hand with the ends of the wire spiral at the top,
pointing toward the right (fig. 10-17, view A). If you are
left-handed, hold the reel in your right hand with the
ends of the spiral wires at the top, pointing toward the
left.
left index finger or thumb, depress the grip clip and
gently push the end of the film into the core of the reel
(fig. 10-17, view B). When the reel does not have a grip
clip, insert the film end about 1/4 to 1/2 inch into the reel
core and hold it there with your left thumb and index
finger (if right-handed). Remember, always load the reel
with the film emulsion facing in, or toward, the reel core.
(fig. 10-17, view C).
spiral grooves with the thumb and forefinger of your
right hand (fig. 10-17, view D).
not completely unwind the paper backing from the film.
Basic Photography Course

As an Amazon Associate I earn from qualifying purchases.
WWW.DOFMASTER.COM
© 2006 Don Fleming. All rights reserved.
© 2006 Don Fleming. All rights reserved.